Okay, so: Healthy Chewy Granola Bar Recipe With Oats changed my mind about what a snack could be. No kidding. Ever stand in the snack aisle staring at those boxes, not sure what’s really in them? I used to do that a lot, then half the time, I’d still grab a candy bar. This little homemade fix (yeah, I said fix—because once you have it, you crave it) has helped me out when I need something quick, better-for-me, but doesn’t taste like cardboard. If you’re wondering what’s really in your food or you want that perfect something to snag as you run out the door, listen up. Oh, while we’re on “healthy and homemade,” check out my personal favorite for easy baking: these deliciously easy gluten free lemon bars, because… sometimes life needs lemon too. 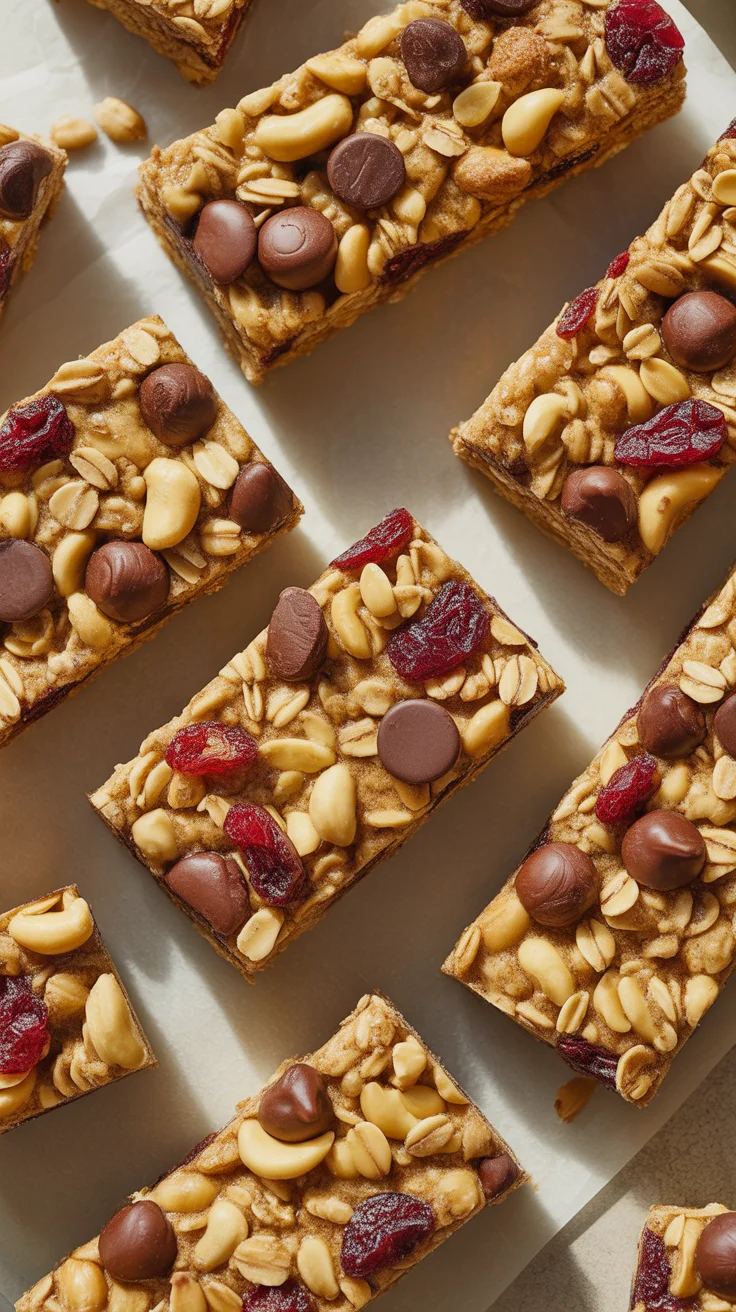
Granola Bar Recipe Ingredients
One of the best things about making your own granola bars? You control what goes in there. No weird words you can’t pronounce. You’ll need:
- 2 cups rolled oats (stick with old-fashioned, not the quick ones, trust me)
- 1/3 cup honey (or maple syrup if that’s more your jam)
- 1/4 cup nut butter (think peanut or almond, but hey, go wild with sunflower seed butter if allergies)
- 1/4 cup chopped nuts (almonds, walnuts—dealer’s choice)
- 1/4 cup dried fruit (I love cranberries, but raisins, cherries, whatever works)
- Pinch of salt (don’t skip it—it matters)
- 1 tsp vanilla (not required but highly recommended)
- 1/3 cup mini chocolate chips (total game changer, optional, but who am I to judge?)
Find these, toss ’em in your cart, and thank yourself later. The magic is you can swap out nearly anything (except, maybe, the oats—we need those).
How to Make Granola Bars
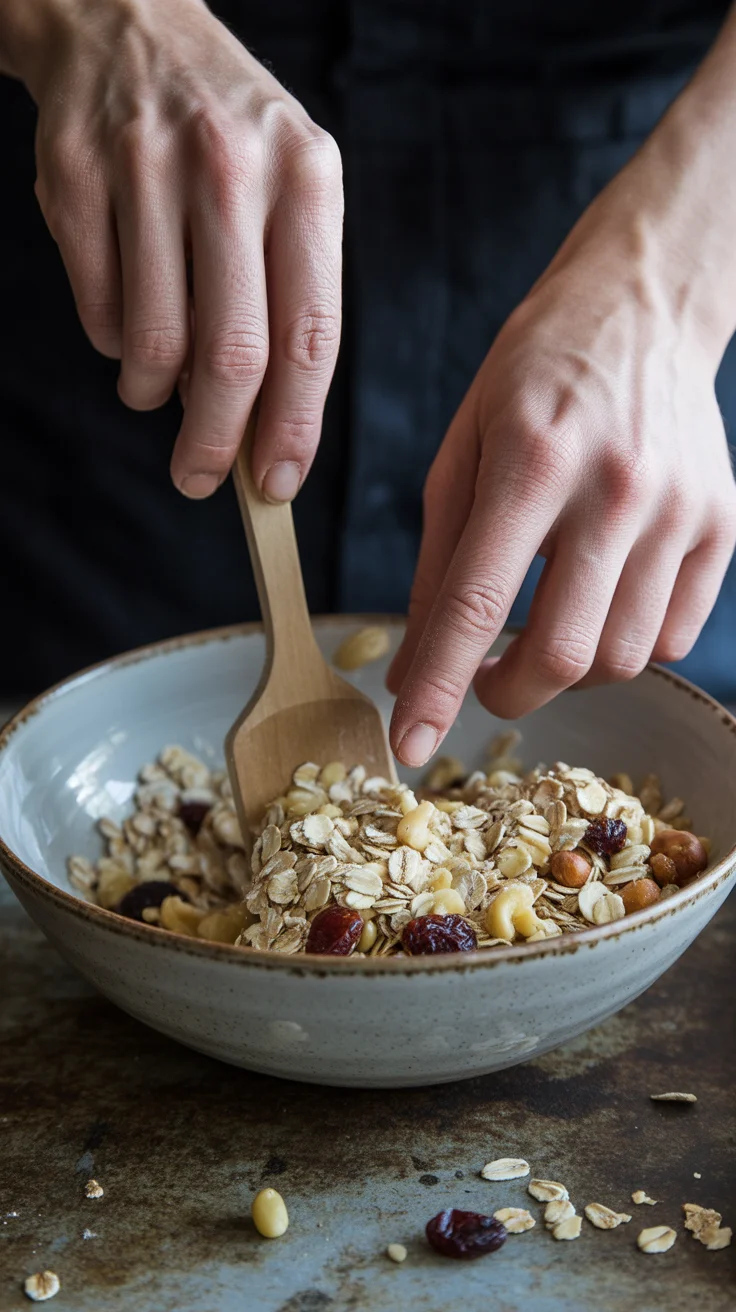
Alright, let’s get down to business—I promise it doesn’t take much. First, grab a bowl. Life’s too short to get super fancy.
Dump your oats in. Add the nuts and dried fruit. Stir it with a spoon (or your hand, but be prepared for sticky fingers). Now, microwave the nut butter with honey for about 30 seconds—just enough to mix easily. Pour that silky sweet stuff over your dry mix and stir like crazy. It’ll look a little lumpy, but that’s fine.
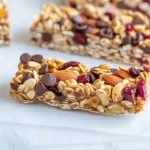
Here’s my curveball: add vanilla and salt now so they blend into every bite. At the end, when it’s only slightly cooled, fold in the chocolate chips. That way, you get pockets of chocolate, not a total melt-fest. Smash the mixture into a lined pan (loaf or square, whatever fits in your freezer) and press it down hard—use another pan or your hands. Chill for at least one hour, then slice. Done!
“I made these after work, and my kids loved them so much, I barely got one myself. Never buying the boxed kind again!”
—Anna G.
Granola Bar Recipe Tips
Let’s talk real-world advice. Sometimes recipes sound all easy but fumble in the kitchen instead. Here’s what I’ve actually learned:
Don’t overheat the honey and nut butter or you’ll get bars that crack instead of chew. If you want extra crunch, toast your oats for 8 minutes at 350° first (not mandatory but adds flavor, scouts honor). Use a bit of parchment paper so the bars come out in one piece—trust me, don’t skip this unless you love scraping.
Oh, and if you’re fighting a chocolate chip meltdown, let the mix cool for two minutes before folding them in. I’ve totally forgotten and ended up with marbled bars (still good but looks crazy). Every batch is a little different, so have fun with it!
Storing Homemade Granola Bars
The storage battle—do not underestimate it. So, my first time, I left them on the counter, just sitting there. Yeah… not smart. If you want these granola bars to last and avoid the dreaded “bar crumble,” stick to these simple rules:
Wrap each bar in parchment or wax paper so they don’t glue together. Put them in a tight container or zip bag before shoving them in the fridge. You’ll get a good week out of them—maybe more if you hide them behind the veggies. The freezer is your friend if you made a double batch (they thaw fast, perfect lunch-box trick).
Pulled one from the fridge, it tasted even better cold (kind of like cool autumn morning snack vibes).
Homemade Granola Bars Variations
Feel free to get all mad scientist here. Seriously, there’s no perfect granola bar, only your favorite. Hate nuts? Use pumpkin seeds for a nut-free version (a school lunch MVP right there). Switch up dried fruits for something wild like chopped dried apricots or mango.
For the winter crowd, sprinkle in a dash of cinnamon or ginger. Add a little coconut if you’re the beachy type (I keep trying to like coconut, maybe you do). If you want more chocolate, try cocoa nibs—yes, it’s a thing. Or even add a sprinkle of sea salt right on top before chilling, kind of gourmet for a five-star restaurant experience.
Want a few fun ideas for serving?
- Dip half a bar in melted chocolate and let it set—fancy snack alert.
- Crumble one over Greek yogurt for breakfast magic.
- Wrap a couple and stash in your bag for busy days.
- Pair with a smoothie for a complete breakfast (or lunch, not judging).
Possibilities are kind of endless, which is honestly why I never get bored.
Common Questions
Can I skip the nut butter?
You really do need something sticky—the bars will fall apart without it. Try sunflower butter if you’re allergic.
Can these be made vegan?
Absolutely. Swap honey for maple syrup. Double check your chocolate chips, though. Some sneak in dairy.
How long do homemade granola bars keep?
Up to a week in the fridge, or about two months (yep, months!) if you freeze them.
Are these gluten free?
Use certified gluten free oats. Not all oats are processed the same. Gotta read those small words on the bag.
Can I use instant oats?
You can, but honestly, the bars might get mushy or kind of… weird. The texture just isn’t as good.
You’ll Never Want Store-bought Again
Alright, you made it—look at you go. This Healthy Chewy Granola Bar Recipe With Oats is my secret weapon for weekday snacking. You saw how easy it is, and how much you can customize. Making a batch is way less drama than dealing with the grocery store line, I’m just saying.
Promise yourself to actually try it. Take five minutes, mix it up, and taste the difference between homemade and what you get in a wrapper. If you’re looking to expand your healthy kitchen game, there’s loads of inspiration out there—like this great Homemade Granola Bars Recipe from Love and Lemons, or ideas for making every meal better, like a heart healthy chili recipe when the weather cools off.
Honestly, if this can beat my need for a candy bar, you know it’s good. 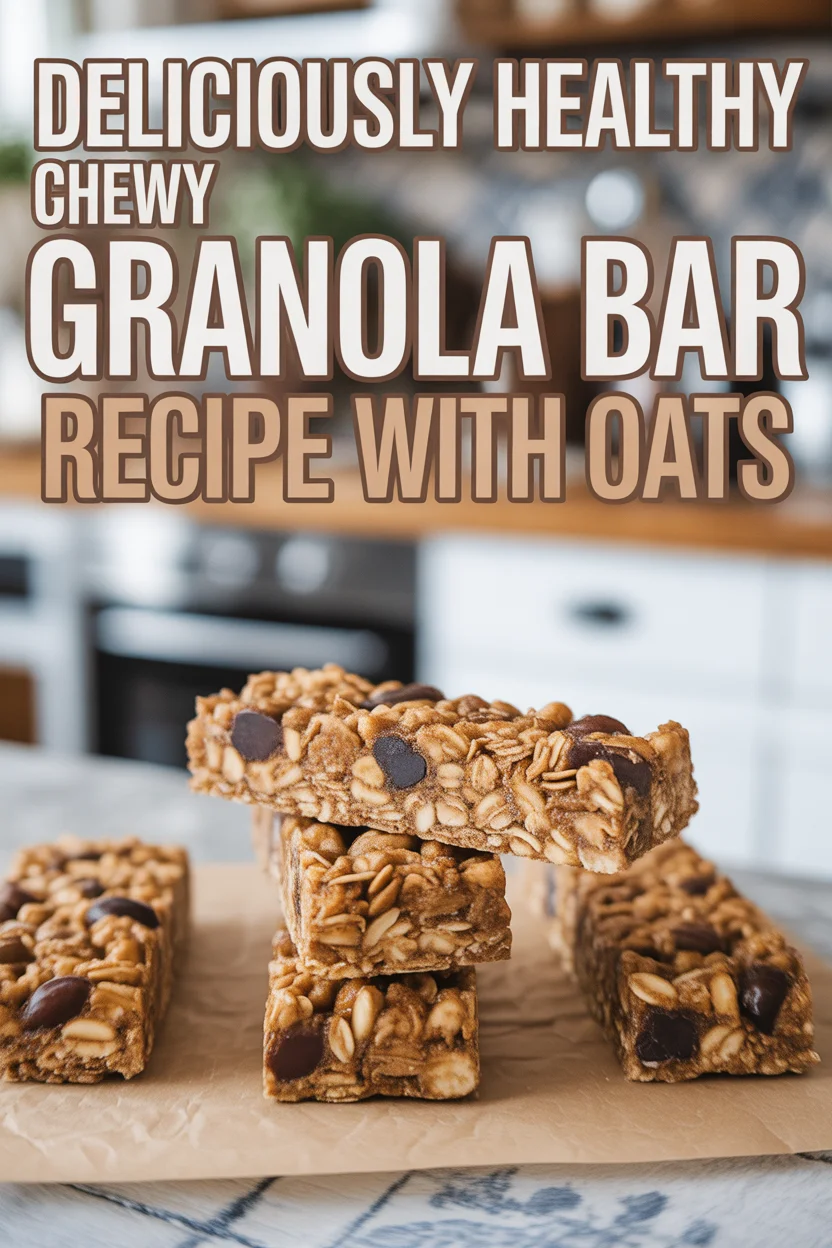
Granola Bars
Ingredients
Method
- In a large mixing bowl, combine rolled oats, chopped nuts, and dried fruit.
- In a microwave-safe bowl, heat the nut butter and honey together for about 30 seconds until easily mixable.
- Pour the nut butter and honey mixture over the dry ingredients and stir until well combined.
- Add in the pinch of salt and vanilla and stir to mix in evenly.
- Allow the mixture to cool slightly, then gently fold in the mini chocolate chips.
- Transfer the mixture to a lined baking pan, pressing it down firmly and evenly.
- Refrigerate for at least one hour before slicing into bars.